Mitigating Treadway Erosion
By directing water off the trail at strategic locations, water bars provide the single best way to minimize the effects of erosion. Although the ideal trail wouldn’t need such structures because it would be designed with a gentle grade, have dips naturally integrated into its original layout, and be hardened (e.g., with stone steps) where necessary, most trails are far from ideal and benefit from retrofitting with water bars.
Patrick Wilson wrote this excellent article, which was originally published for the former Blue and White Crew.
The ideal waterbar looks natural and inconspicuous, creates no obstacle for hikers going either direction, remains reasonably clear of leaves and debris, and prevents serious erosion downhill from it.
Site Selection
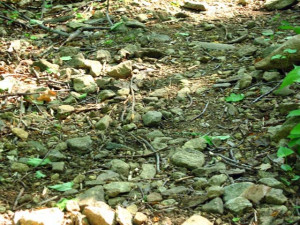
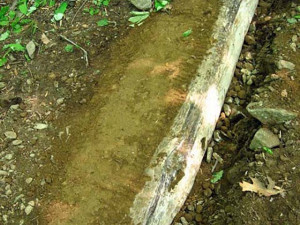
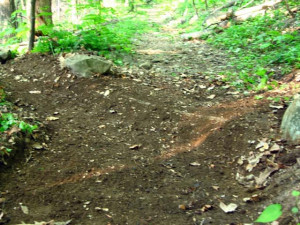
Don’t waste time building a waterbar where one isn’t needed or won’t work right. One of the best clues to future erosion is past erosion, which is why crews give first priority to building water bars just above eroded sections of trail, i.e., areas with a scoured appearance and with rocks and gravel on the surface (Figure 1). Dedicated overseers visit their trails during or just after rainstorms in order to learn how water behaves on the trail and where water bars might be useful.
Besides heavily eroded locations, other suitable sites for water bars include:
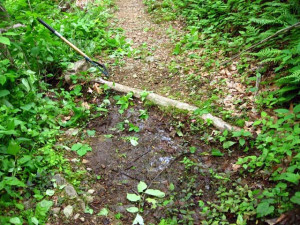
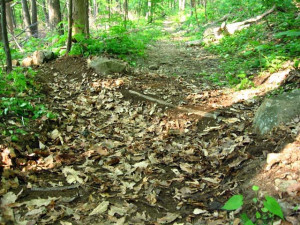
- Areas just below see Figure 2 (Water should be diverted off the trail at its source).
- Turns in the trail (Water keeps going straight while the trail turns).
- The tops of steep slopes (erosion increases exponentially with slope).
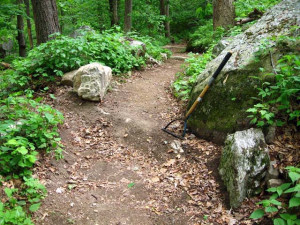
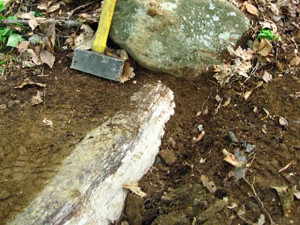
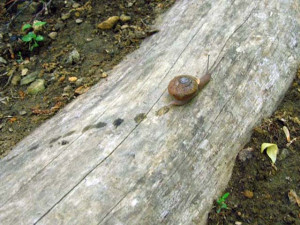
- Spots near natural visual anchors such as large rocks (Figure 3) or trees.
- (Hikers are discouraged from walking around such water bars.)
- Areas above existing water bars that are being scoured by heavy runoff.
- (A new waterbar uphill from an overburdened one will take some of the load off it.)
- The sites of existing water bars that are handling water but are improperly constructed.
- (They’re built at too shallow an angle to the trail, stick up like obstacles, have inadequate outflow channels, and/or allow hikers and water to get around them.)
- Places where steep, rocky slopes drain directly onto the trail from the side.
- Long, uninterrupted stretches of steadily sloping trail sections on which the tread material erodes easily, for example because it’s sandy or gravelly.
Water bars work best on sidehill trail, especially where the ground drops off steeply to one side. When selecting a site, always make sure there’s room for an adequate outflow channel, preferably one significantly steeper than the trail itself. In general, water bars are better than check dams for erosion control unless the lay of the land makes constructing a proper outflow channel too difficult.
Avoid building water bars above switchbacks, because the upper leg might drain directly onto the lower and hikers will be encouraged to shortcut.
Water bars work best on sidehill trail, especially where the ground drops off steeply to one side. When selecting a site, always make sure there’s room for an adequate outflow channel, preferably one significantly steeper than the trail itself. In general, water bars are better than check dams for erosion control unless the lay of the land makes constructing a proper outflow channel too difficult.
Log Choice and Preparation
Although rock water bars boast many advantages, log water bars are much faster and easier to build, and logs can be hauled to almost any site. In PATC territory, the species of choice is black locust. If properly prepared and installed, a locust log will last for decades without rotting. If possible, find a freshly fallen locust with sound, dense wood, and cut a reasonably straight log that’s 7 feet long and 6 to 12 inches in diameter (the larger the better). Look at the ends to make sure there’s no internal rot. Saw any branches off flush and skin off every vestige of bark with a sharp drawknife and/or a sharp axe. Don’t use a log with deep checks or cracks, which will propagate as it dries.
Tools
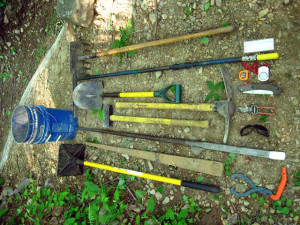
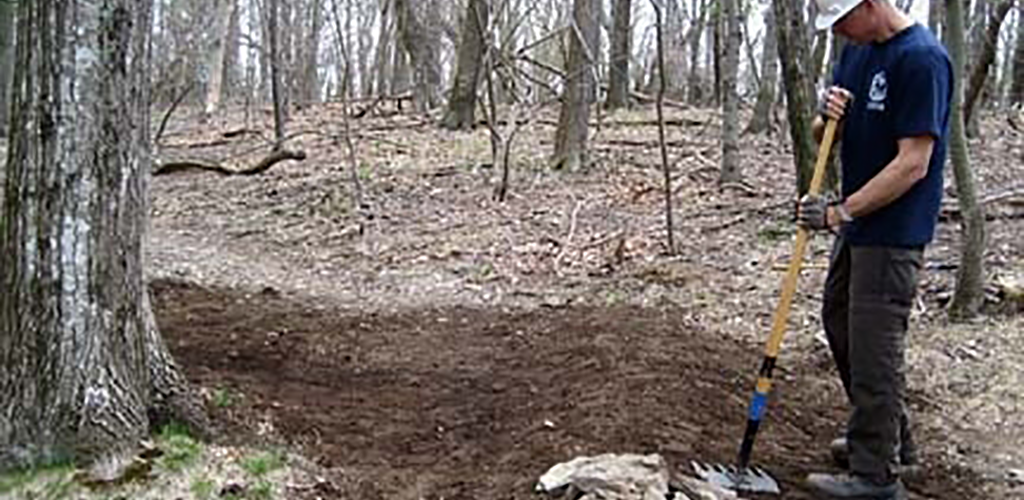
Tools useful for waterbar construction, from top left to bottom right in Figure 4, include:
|
|
Construction
The objective is to bury the log flush with the downhill side of the trail, at a 45° angle to the direction of travel along the trail, with suitable anchors at either end, and with an outflow channel that can handle even torrential downpours. With proper construction, neither hikers nor water will go around the waterbar. It will be too inconspicuous to create either a physical hurdle or a visual obstacle, will require no pins or stakes to keep it in place, and will lie low enough not to require backfilling or reinforcement with a check dam.
Step 1: Establish the Slope
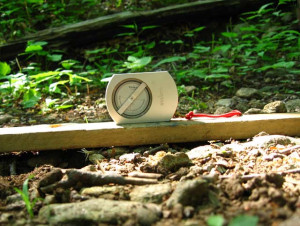
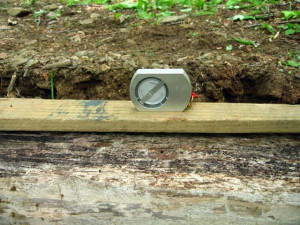
Using a clinometer and any long, flat object, measure the trail slope at the waterbar location you’ve chosen (Figure 5). Be sure to measure directly in line with the trail (i.e., the direction of travel) at the point where the center of the log will go. Then use the table below to determine the slope that the log in the finished waterbar will have. A trail slope of 12.5°, as in the present example, will require a waterbar slope of just under 11°. When finished, the waterbar will be perfectly integrated into the trail.
| Trail Slope (°) | Water bar Slope (°) | Trail Slope (°) | Water bar Slope (°) |
| 1 | 2.7 | 16 | 13.3 |
| 2 | 3.4 | 17 | 14.0 |
| 3 | 4.1 | 18 | 14.7 |
| 4 | 4.9 | 19 | 15.4 |
| 5 | 5.6 | 20 | 16.1 |
| 6 | 6.3 | 21 | 16.8 |
| 7 | 7.0 | 22 | 17.5 |
| 8 | 7.7 | 23 | 18.1 |
| 9 | 8.4 | 24 | 18.8 |
| 10 | 9.1 | 25 | 19.5 |
| 11 | 9.8 | 26 | 20.2 |
| 12 | 10.5 | 27 | 20.9 |
| 13 | 11.2 | 28 | 21.5 |
| 14 | 11.9 | 29 | 22.0 |
| 15 | 12.6 | 30 | 22.9 |
Step 2: Lock in the Angle
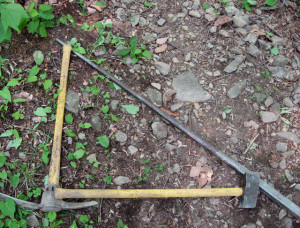
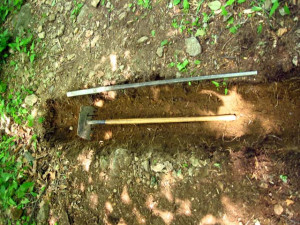
Lay a rock bar on the trail, centered from side to side, and angled at exactly 45° to the direction of travel. Making a right triangle with two other tools and the rock bar will help you visualize the correct angle (see Figure 6). After viewing the bar from both uphill and downhill sides and making any necessary adjustments, lock in the rock bar’s position by positioning rocks or by driving stakes into the ground a couple of feet from either end of the bar and exactly in line with it. Check frequently for any deviation from 45°. If anything, err on the side of making the log closer to parallel the direction of travel. A water bar located at a turn in the trail will be more nearly parallel the direction of travel than water bars on straight sections and should drain to the outside of the turn. Placing the log nearly perpendicular to the direction of travel is the most common mistake in waterbar construction.
Step 3: Dig the Trench
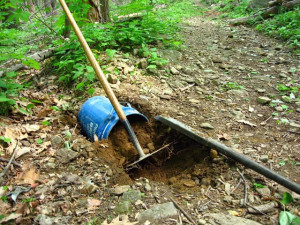
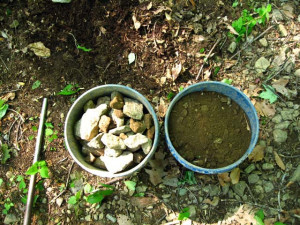
Leaving the rock bar on the ground as much as possible for guidance, use your pick, shovel, and McLeod to dig a trench on the uphill side of the bar about one bucket length longer on each end than the bar itself, i.e., a bit over 7 feet in total length. Clip or saw roots out of the way and dispose of them well out of sight off the trail. While digging, take care not to disturb the tread downhill from the rock bar. Use buckets to gauge the width and depth of the trench (see Figure 7) and to collect rocks and dirt (see Figure 8), which can be put in separate piles well uphill (i.e., more than 10 feet) of the waterbar until they’re needed.
The finished trench (see Figure 9) should be only an inch or two longer, deeper, and wider than the log itself. Pry out large subterranean rocks with a rock bar or, while wearing safety glasses, pulverize them with a mash hammer.
Save any extra-large rocks for anchors (go to Step 6).
Step 4: Place the Log
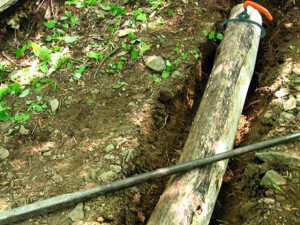
Using log tongs, position the log in the trench with its flattest side up and with its top surface flush with the downhill side of the trail and at exactly the target slope determined in step 1 (see Figure 10).
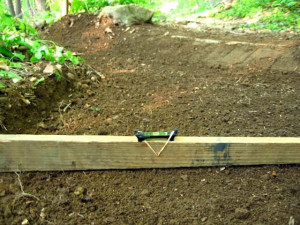
A rock bar laid across the trench in the center of the trail and along the direction of travel should just touch the top of the log (Figure 11) and guarantee that it isn’t too high—the second most common mistake in waterbar construction. Dig and/or fill (from your rock and dirt piles) as necessary to achieve the desired depth and slope. It is worth taking extra time to meet these requirements exactly.
Step 5: Secure the Log
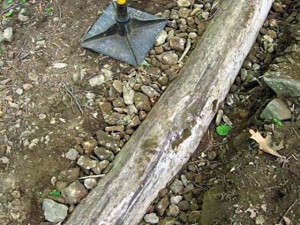
Fill any gaps under or behind the log with rocks from your pile and, wearing safety glasses, carefully hammer them in with the mash hammer. Firmly tamp rocks behind the log until they’re flush with the downhill trail and hammer them in front of the log until they come up about a third of its diameter (see Figure 12). Firmly tamp lots of dirt from your pile on top of the rocks behind the log to make a solid, flush surface
(see Figure 13).
Step 6: Anchor the Ends
Dig a large anchor rock into place at each end of the log (Figure 14). The anchors should sit on the very edges of the log without sticking out into the trail. They should be heavy enough and sunk low enough that they won’t roll or wobble. Their purpose is to secure the log and to provide a visual gateway for hikers. Try to make the rocks look as if they’ve always been there.
Step 7: Dig the Outflow Channel
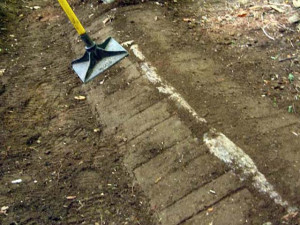
Form the uphill face of the waterbar by digging, filling, raking, and tamping as necessary in order to make a smooth, even surface extending about a foot down from the top of the log and tilted so that the handle of the tamper leans about 30°–45° from plumb (see Figure 15). The steeper the trail, the steeper the tilt needs to be.
At least 10 feet of trail leading down into the face of the waterbar should be graded with a 5% out-slope (see Figure 16) and at a uniform trail slope, which will be slightly steeper than its original slope to allow for the excavation at the face of the waterbar. Take particular care to rake the area smooth and tamp it thoroughly, leaving no rocks, roots, or dirt in the water’s path. Dig an outflow channel off the side of the trail parallel to the buried log, at least 24 inches wide, and long enough that water won’t run back onto the trail (see Figure 17).
Narrow channels can be overwhelmed in downpours and will clog more easily after even light rains. Dig through whatever berm you have to in order to create a channel that’s completely clear of obstructions. An inadequate outflow is perhaps the third most common mistake in waterbar construction. Finally, tamp everything thoroughly and mulch any disturbed surfaces with leaves for a natural look and for protection from splash erosion (see Figure 18). Remember to take your time so your work won’t have to be redone later (see Figure 19).
Follow-up
A properly built log waterbar will function effectively for decades if its outflow channel is raked out annually. Hikers will walk right over it (not around it) without even noticing it, and water will be diverted from the trail before it can cause serious erosion. During your annual waterbar cleaning, take note of water bars that have been heavily scoured and have large amounts of tread material deposited in or at the end of their outflow channels. Much of that material can be reclaimed and tamped onto the downhill sides of these water bars, where it’s often needed because of the compaction and displacement caused by hiker traffic. Rather than engaging in the losing battle of armoring overburdened water bars with paving rocks or riprap trays in their outflow channels, give them a fighting chance by building new water bars up-slope from them.
Resources
Troy Scott Parker’s Natural Surface Trails by Design: Physical and Human Design Essentials of Sustainable, Enjoyable Trails (Boulder: Natureshape, 2004) elegantly illustrates the foundations of trail design and theory. Chapter 7 provides the single best discussion to date of erosion and tread watersheds, as well as the dozen interrelated factors that affect them.
Sources of uncommon tools include:
- Forestry Suppliers (Dura-Rake, stock no. 33803; log tongs, stock no. 75058; diameter tape, stock no. 39480; clinometer, stock no. 43830)
- Lester Kenway’s Trail Services (all sizes of rock bars and mash hammers, as well as the best tool advice in the business)
 South Shenandoah